Support: +44 2031 293 603
support@evisa.express

Uganda eVisa Passport Photo

Complete guide to Uganda eVisa passport photo requirements. Learn about size specifications, background requirements, quality standards, and how to take the perfect photo for your visa application.

Uganda eVisa passport photo requirements

Uganda eVisa Passport Photo Requirements

Your passport photo is a critical component of your Uganda eVisa application. Meeting the specific photo requirements ensures your application is processed without delays and increases your chances of approval. Poor quality photos are one of the most common reasons for visa application rejection.

Critical Photo Requirements
  • White background: Plain white or off-white background required
  • Recent photo: Taken within the last 6 months
  • Digital format: JPEG or PNG format, high resolution
  • Face visibility: Full face visible, looking directly at camera
  • No accessories: No hats, sunglasses, or head coverings (except religious)

Technical Specifications

Size & Dimensions

Digital Photo Specifications
  • Minimum resolution: 600 x 600 pixels
  • Recommended: 1200 x 1200 pixels
  • Aspect ratio: 1:1 (square format)
  • File size: 50KB - 10MB
  • Head size: 50-69% of total image height
  • Eye level: 56-69% from bottom of image
Print Equivalent
  • Standard size: 2 x 2 inches (51 x 51 mm)
  • Alternative: 35 x 45 mm acceptable
  • Head height: 25-35 mm from chin to crown

Quality & Format

File Format Requirements
  • Accepted formats: JPEG (.jpg), PNG (.png)
  • Color mode: RGB color (not CMYK)
  • Compression: High quality, minimal compression
  • Resolution: 300 DPI minimum
  • Bit depth: 24-bit color minimum
Image Quality Standards
  • Sharpness: Clear, in-focus image
  • Lighting: Even, natural lighting
  • Contrast: Good contrast between face and background
  • No artifacts: No pixelation or compression artifacts

Photo Composition Requirements

Correct and incorrect passport photo examples

Acceptable Photo Composition

Head Position
  • Face directly toward camera
  • Head straight, not tilted
  • Eyes looking directly at camera
  • Neutral expression or slight smile
Face Coverage
  • Full face visible from chin to forehead
  • Both ears visible (preferred)
  • No hair covering eyes
  • Face occupies 50-69% of image height

Background Requirements

Acceptable Backgrounds

Plain White

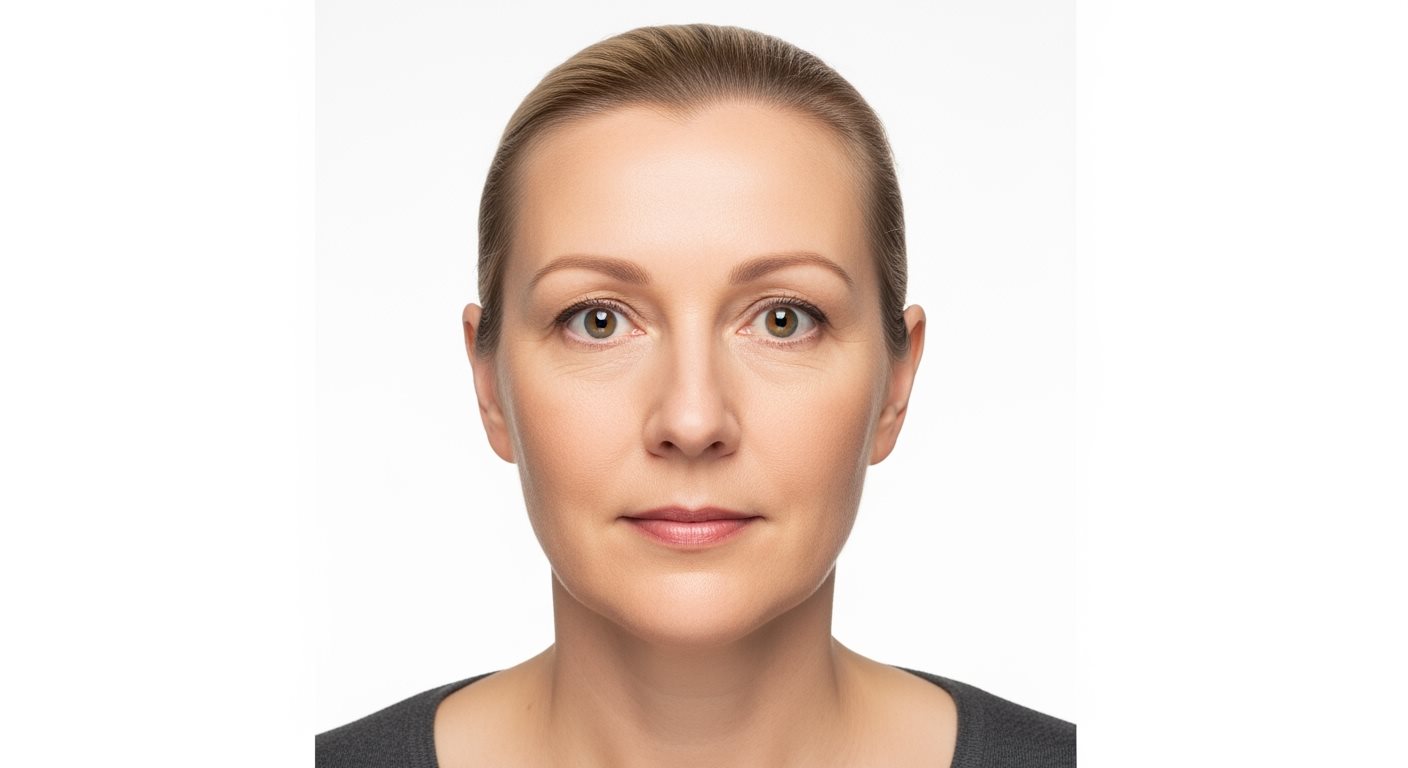
Pure white background (#FFFFFF) - most preferred option

Off-White

Very light gray or cream background - acceptable alternative

Light Gray

Very light gray background - acceptable if uniform

Unacceptable Backgrounds

Colored Backgrounds

Any colored background (blue, red, etc.) not acceptable

Patterned Backgrounds

Patterns, textures, or designs in background

Shadows or Objects

Visible shadows, objects, or other people in background

Clothing and Appearance Guidelines

Recommended Clothing

Items to Avoid

White clothing: Blends with white background
Hats or caps: No head coverings (except religious)
Sunglasses: Eyes must be clearly visible
Uniforms: Avoid military or official uniforms

How to Take the Perfect Photo

DIY passport photo setup

DIY Photo Setup

1
Prepare the Background

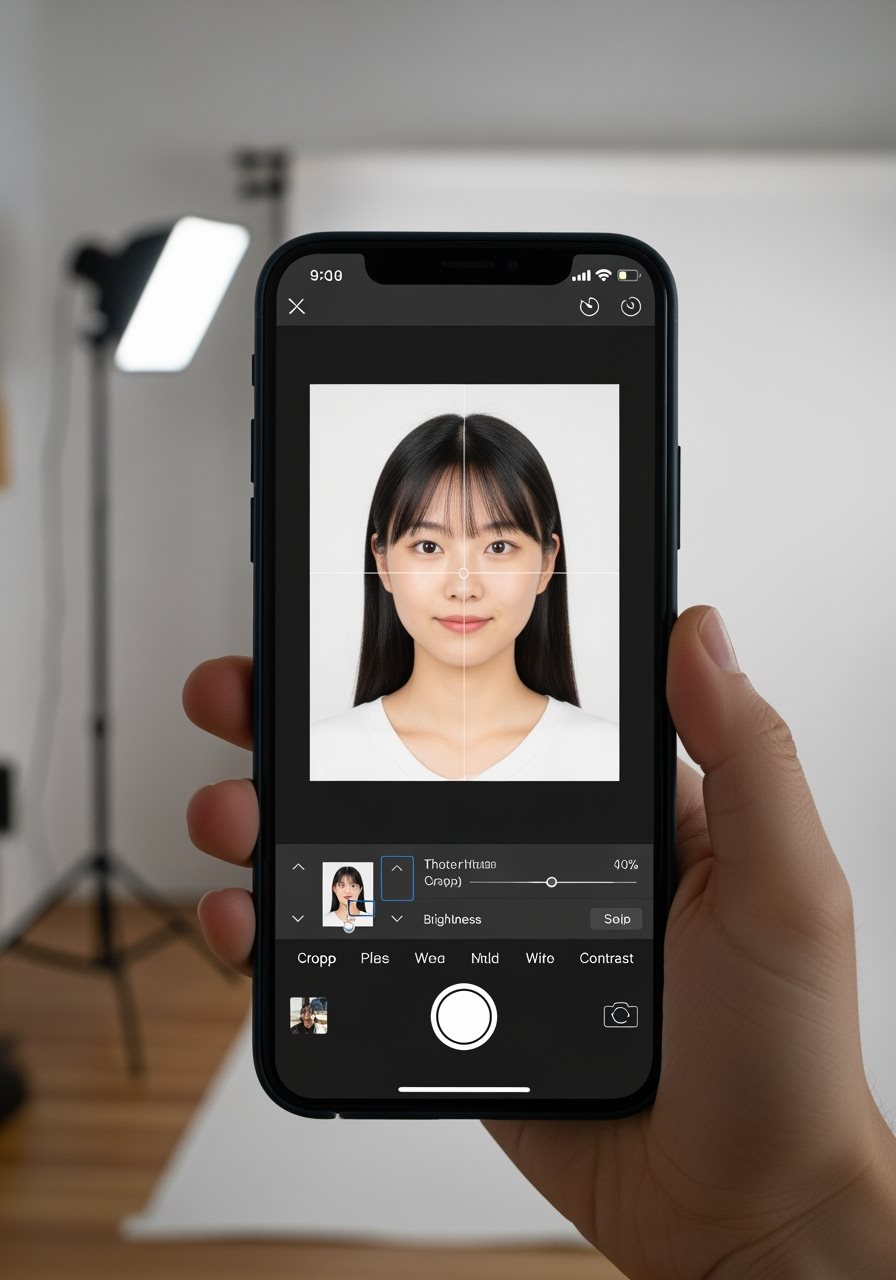
Use a plain white wall or hang a white sheet. Ensure it's smooth and well-lit.

2
Set Up Lighting

Use natural light from a window or soft artificial lighting. Avoid harsh shadows.

3
Position Camera

Place camera at eye level, about 4-6 feet away. Use tripod or stable surface.

4
Take Multiple Shots

Take several photos and choose the best one that meets all requirements.

Professional vs DIY Options

Professional Photography

$10-30
Advantages:
  • Guaranteed compliance with requirements
  • Professional lighting and equipment
  • Experience with visa photo standards
  • Multiple shots to choose from
  • Immediate digital and print copies
Where to Find:
  • Photography studios
  • Passport photo services
  • Some pharmacies and post offices
  • Copy and print shops

DIY Photography

Free
Advantages:
  • No cost involved
  • Convenience of home setup
  • Multiple attempts possible
  • Immediate results
  • Control over timing and setup
Requirements:
  • Good quality camera or smartphone
  • White background setup
  • Proper lighting arrangement
  • Photo editing software (optional)
  • Understanding of requirements

Photo Editing Guidelines

Acceptable Editing

Allowed Adjustments
Cropping: Adjust to correct size and composition
Brightness: Minor adjustments for clarity
Contrast: Enhance contrast between face and background
Background cleanup: Remove minor background imperfections
Prohibited Editing
Facial alterations: No changes to facial features
Beauty filters: No smoothing or enhancement filters
Color changes: No altering of natural colors
Adding elements: No adding objects or text

Common Photo Mistakes

Mistake Problem Solution Prevention
Wrong background color Colored or patterned background Retake with plain white background Use white wall or sheet
Poor lighting Shadows on face or background Use even, soft lighting Natural window light or soft artificial light
Wrong size/resolution Image too small or low quality Use high-resolution camera settings Check camera settings before shooting
Face too small/large Head doesn't occupy 50-69% of image Adjust distance from camera Position 4-6 feet from camera
Blurry image Camera shake or movement Use tripod and timer function Stable camera setup and good lighting
Wearing accessories Sunglasses, hats, or jewelry Remove all accessories Simple, professional appearance

Photo Verification Checklist

Before Uploading Your Photo

Technical Requirements
Composition Requirements

Special Considerations

Religious Head Coverings

Acceptable Conditions:
  • Religious head covering worn daily
  • Face fully visible from chin to forehead
  • No shadows cast on face
  • Covering doesn't obscure facial features
  • Plain colored covering preferred
Documentation:
  • May require religious affiliation statement
  • Covering must be worn consistently
  • Should match passport photo if applicable

Glasses and Medical Devices

Prescription Glasses:
  • Generally acceptable if worn daily
  • No tinted or dark lenses
  • No glare or reflection on lenses
  • Eyes clearly visible through lenses
  • Frames don't obscure eyes
Medical Devices:
  • Hearing aids usually acceptable
  • Medical eye patches with documentation
  • Contact embassy for unusual cases
Pro Tips for Perfect Photos
  • Take multiple shots: Capture several photos and choose the best one
  • Check requirements twice: Verify all specifications before uploading
  • Use good lighting: Natural window light often works best
  • Keep it simple: Plain appearance and neutral expression
  • Test upload: Ensure file uploads correctly before submitting
  • Save originals: Keep high-resolution originals for future use
  • Professional option: Consider professional service if unsure
Important Reminders
  • Recent photo required: Must be taken within last 6 months
  • White background mandatory: No other background colors accepted
  • Quality matters: Poor photos cause application delays
  • No editing allowed: Don't alter facial features or use filters
  • Follow specifications exactly: All requirements must be met

Frequently Asked Questions

Uganda eVisa passport photos must be at least 600x600 pixels (recommended 1200x1200 pixels) in digital format. The aspect ratio should be 1:1 (square), with your head occupying 50-69% of the total image height. File size should be between 50KB and 10MB in JPEG or PNG format.

No, you must use a plain white or off-white background for your Uganda eVisa passport photo. Colored backgrounds (blue, red, etc.), patterned backgrounds, or backgrounds with objects or shadows are not acceptable and will result in application rejection.

Yes, you can take your own passport photo at home if you have the proper setup. You'll need a white background, good lighting, a high-quality camera or smartphone, and understanding of the requirements. However, professional photography services guarantee compliance with all specifications.

Prescription glasses are generally acceptable if worn daily, but they must not have tinted or dark lenses, show no glare or reflection, and your eyes must be clearly visible through the lenses. The frames should not obscure your eyes. Sunglasses are strictly prohibited.

Your passport photo must be taken within the last 6 months for Uganda eVisa application. This ensures the photo accurately represents your current appearance. Using older photos may result in application rejection or entry difficulties at Uganda immigration.

Limited editing is acceptable: cropping to correct size, minor brightness/contrast adjustments, and background cleanup. However, you cannot alter facial features, use beauty filters, change natural colors, or add elements. The photo must represent your natural appearance accurately.

Wear dark-colored, solid clothing that contrasts with the white background. Avoid white clothing (blends with background), patterns, uniforms, hats, or accessories. Professional or smart casual attire is recommended. Religious head coverings are acceptable if worn daily and don't obscure facial features.

Use JPEG (.jpg) or PNG (.png) format for your Uganda eVisa passport photo. The file should be in RGB color mode (not CMYK), with minimal compression to maintain quality. Ensure the file size is between 50KB and 10MB with a resolution of at least 300 DPI.

Professional passport photos are available at photography studios, passport photo services, some pharmacies and post offices, and copy/print shops. Costs typically range from $10-30. These services guarantee compliance with requirements and provide both digital and print copies.

If your passport photo doesn't meet requirements, your Uganda eVisa application may be rejected or delayed. You'll need to submit a new photo that meets all specifications and may need to pay additional processing fees. It's better to ensure compliance before submitting your application.